SSO
Let your team sign in through Google, Microsoft, or Okta SAML.
SSO
With SSO, people whose email is on one of your domains sign in through your identity provider instead of an emailed code.
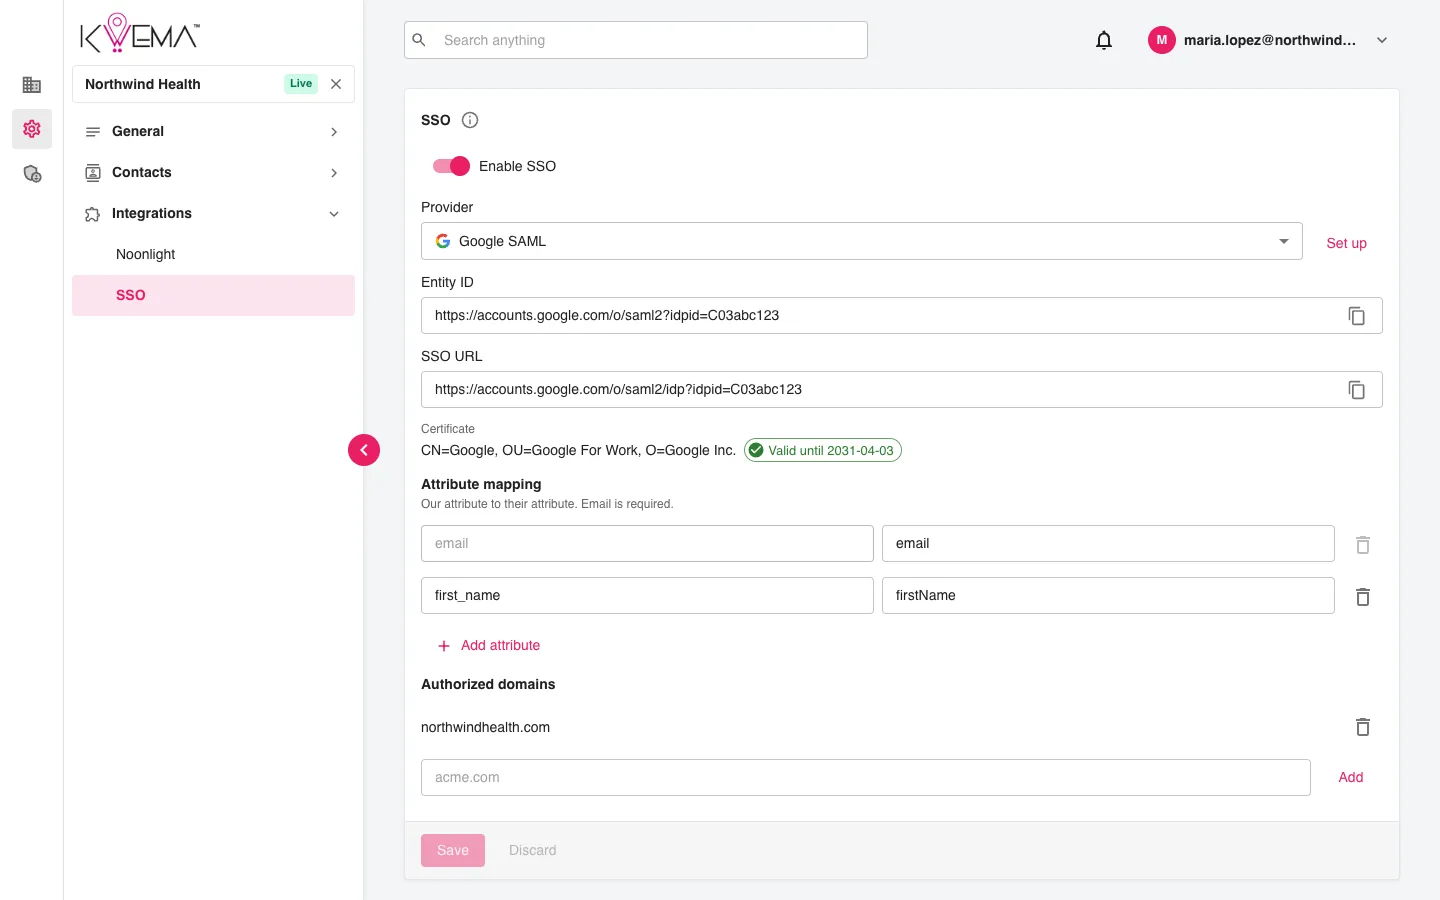
Set up
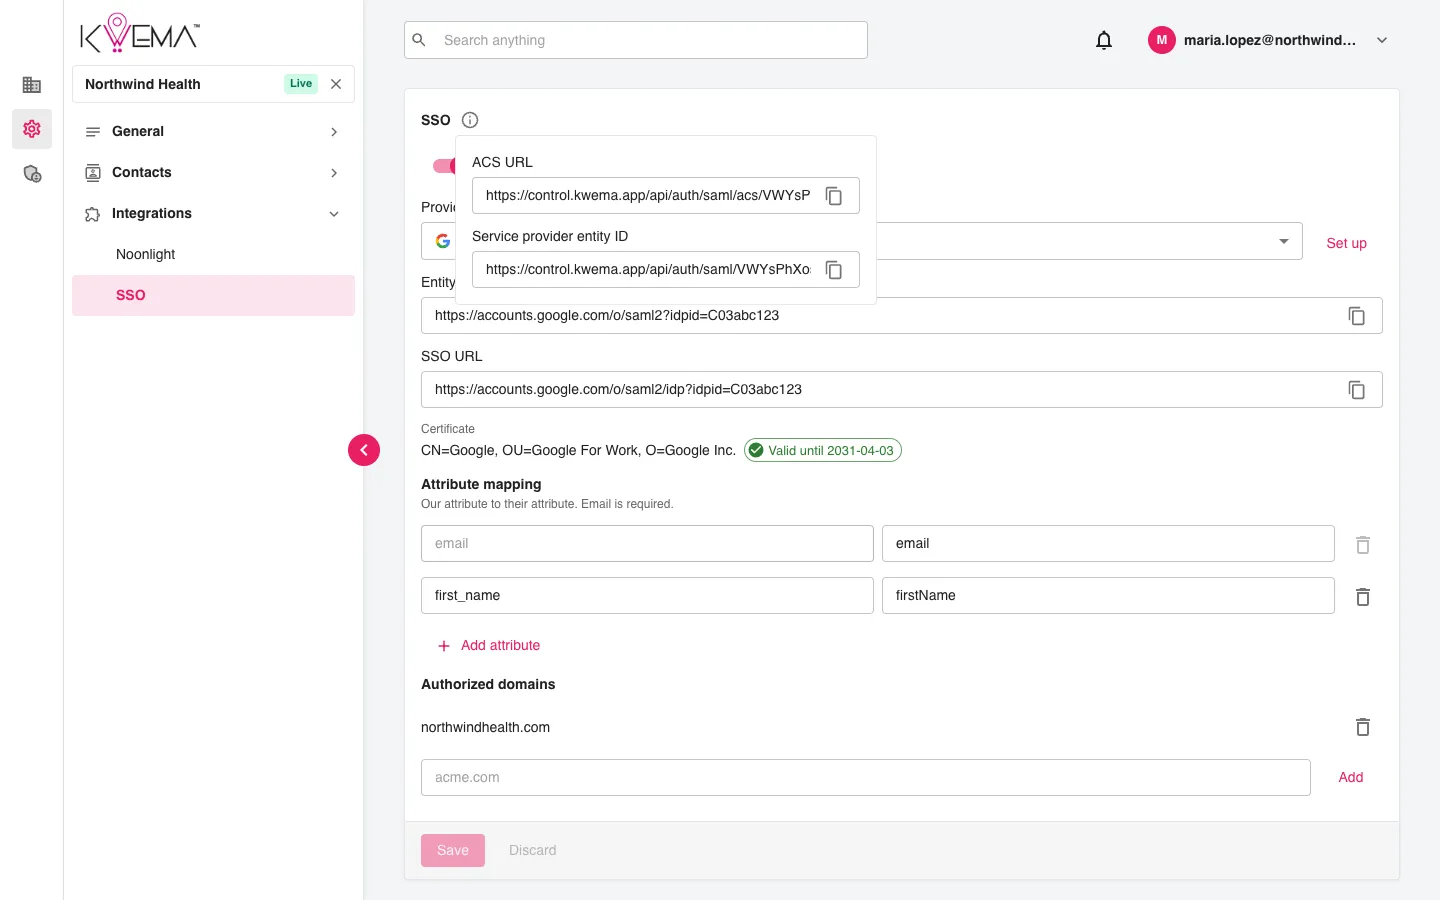
Select the info icon next to SSO to see the two values your identity provider needs:
- ACS URL
- Service provider entity ID
Use the copy buttons to copy each one into your identity provider's SAML app.
Pick your Provider: Google SAML, Microsoft SAML, or Okta SAML.
Select Set up and either paste your identity provider's metadata XML, or enter the IdP entity ID, IdP SSO URL, and Signing certificate.
Kwema verifies the settings. The certificate appears with its expiry date when it is valid.
Under Attribute mapping, map our attributes to the names your identity provider sends.
emailis required.Under Authorized domains, add each email domain that should use SSO, for example
acme.com.Turn on Enable SSO and select Save.
Each organization has its own ACS URL and entity ID. Don't reuse them across organizations.
Troubleshooting
- Verifying... stays on screen while Kwema checks the identity provider. If verification fails, the error is shown. Fix the settings and run Set up again.
- If people see an error on the sign-in page after their identity provider, check that the attribute mapping includes
emailand that their domain is authorized.